Fireflies         

Jun 24, 2013

Kids in the Kitchen: Watermelon Wigglers

WATERMELON WIGGLERS

After living in Alaska and having a lack of fresh produce for three years, the boys and I are making up for lost time.  A bright, green watermelon is a staple in our cart these past months.  The boys can't get enough of it and well, I just happen to think that there are few things more adorable than little barefooted, sunkissed boys sitting on the porch attempting to spit watermelon seeds into the yard (most of the seeds end up in their laps).  Oh how I love those sweet and sticky little faces!  

For this month's "Kids in the Kitchen" craft, we decided to pay tribute to our summer obsession, the watermelon.  


I had made blue Jell-O in orange peels later last year and decided to revisit that fun treat.  After a few adjustments, we had these cute little watermelonesque treats, which by the way lasted less than a day before the boys (Daddy included) slurped them all up.  

All you need for this recipe is:
  • Limes


  • Boxes of Jell-O (we used 3 and that made just about the perfect amount we needed for our bag of 12 limes)


  • mini muffin (cupcake) baking pan
  • bowl to mix up the Jell-O
  • measuring cups

Step #1:  

Cut the limes in half.


Step #2:  

Squeeze the juice out of the limes (we froze ours so we could make "key lime" pie sometime soon)


Step #3:

After the juice has been removed from the halves, scrape out the pulp and the pith and you should be left with nice cleaned out limes like the ones below.  Note:  I found the easiest way to scrape them out was to flip the lime inside out.


Step: #4

Prepare the Jell-O according to the directions for the Jigglers variety.  We did a combo of flavors using 2 boxes of strawberry and 1 box of watermelon.


Step #5:

Arrange the cleaned out, juiced limes in a mini cupcake pan (like below):


Step #6:

Mix the boiling water into the gelatin for the recommended amount of time.


Step #7:

Once the gelatin has completely dissolved, pour into the prepared limes in the mini cupcake pan.


Step #8:

Let the Jigglers set at least 4 hours in the refrigerator.  Proceed to cut them in quarters.


We couldn't resist so we cut some eensy teensy little watermelon slices and added some "seeds" with our black edible marker.  You also could put mini chocolate chips in them for seeds if you prefer.


Author: Rachel Skvaril
Sugar Artist
www.FondantFlinger.com


Labels: ,

May 6, 2013

A bird on the plate is worth two in the fridge....


Birds are a huge source of entertainment in this household.  The boys and I recently added a large birdfeeder outside our dining room window so we could keep better tabs on the neighborhood bird drama.  We live on the water and have feathered friends of all kind; from small sparrows to geese.  We even have one "city pigeon" that comes in every afternoon for his regular fly-by snack.  Our freezer always maintains extra bread for duck feedings and we have even had to start purchasing our bird seed from Sam's to keep up with the high demands of our beaked buddies.  

To say that the boys were excited to do a bird themed snack would be an understatement.  I knew we were going to have to provide some pretty incredible meals for my two bird-loving boys.  Thankfully, there was no shortage of ideas out there.  Since, we couldn't choose between a few of them, we planned a whole day of bird themed meals.  

BIRD'S NEST BREAKFAST

I found the idea for this on Pinterest and its just incredibly easy for a fast but adorable birdie breakfast for your babies.

All you'll need is:

  • Bread (toasted according to your little one's preference)
  • Hard boiled egg (we made this really easy by buying them right from the store)
  • Teensy tiniest bit of a carrot
  • Edible marker (thought you could easily use a small piece of raisin for her little eyes)


Simply cut your toast into strips.  Levi likes his with a little butter so we buttered it first.  Arrange your bread pieces in a nest shape.

Cut a small triangle shape from the end of a carrot for the birds beak and position on the egg.  With your edible marker, add two eyes.  Levi decided our bird was a girl (or "grill" as he pronounces it) so we gave her pretty little eyelashes.  

Nestle her into her little warm and "toast"-y nest and serve to your overly enthusiastic little one.

FOR SNACKTIME:

Another very easy idea for a quick snack.  

What you'll need:
  • Pretzel sticks
  • Grapes
  • Carrot
  • Edible Marker
I snapped the pretzel sticks into smaller "twigs" and just tossed them into a small bowl.  Dot little eyes on grapes and set them in their "nest".  Cut small triangles from carrots and place on the birds and you're done!  

FOR DINNER:

And finally for dinner, spaghetti noodles with bird meatballs on a celery branch.

What you'll need:
  • Center stalk of celery (with the leaves on the end to look branch-like)
  • Cooked spaghetti
  • Meatballs or like we used, mini-hamburgers
  • Mozarella Cheese
  • Carrot
  • Edible Marker

Place celery branch across plate, use a fork and twirl a large section of spaghetti into a nest shape.  Place noodle nest on its side.  Tuck in two meatballs or mini hamburgers into the nest.  For the eyes, I cut slices of a cheese stick and used a piping tip to make a smaller circle cut out.  You could most certainly use the entire slice though.  Add a black dot in the center of the cheese slice with an edible marker or you could use a caper, piece of black olive or a piece of raisin.  Whatever you happen to have laying around in the pantry.  Position the eyes on the meatball/ hamburger.  Cut a small triangle out of a carrot and place under eyes to form the beak.


The boys loved this idea so much that we had a version of it for dinner the next night as well.  The second night, I made a nest of rice and tucked their meat into it.  Just as easy and just as entertaining for the little ones in your life.

Contributing author: Rachel Skvaril
Sugar Artist


Labels: ,

Apr 8, 2013

So "Fortunate" To Have You!

"Fortunate-to-Have-You Cookies"

I simply was wracking my brain trying to think of a way to incorporate gratitude into this month's recipe.  However, my mind kept going to thankfulness and, of course, straight to Thanksgiving related activities.  Then it came to me!  Thankful, gratitude, fortunate, FORTUNE COOKIES!  

So Noah and I sprang into action.  We found a recipe (you can find it here: Allrecipes.com) and Noah went to work on the paper portion of today's recipe.  We decided that his teacher would be the perfect recipient of a batch of "fortunate-to-have-you" cookies.  Noah wrote reasons for which he was grateful for having his teacher in his life.

Most of these were exactly were right on topic but in the end, the slips of paper ranged from "patient" and "kind" to pictures of trucks and special messages written in the "alien's language".  I'm pretty sure that's his standard answer when he can't read his own writing.  Either way, the messages were written with a lot of heart and seriously, isn't that what matters most?  

Next we went to work on our recipe.  We measured and sifted our dry ingredients:

Separated our egg whites:

Added our extracts:

Whisked until frothy:
 

After mixing in our dry ingredients, we decided on adding some
red food coloring to make things a little more exciting:

After greasing our pans heavily with butter, we spooned a little batter into
thin circles and popped them into the oven.

OK, I won't lie to you.  We had some serious issues at this point.  We ended up having to vary the temperature of the oven, the cookie sheet, the duration of baking, the amount of batter, thickness of the batter and ultimately, ended up with many fortune cookies with burnt edges and undercooked middles.  Finally, what worked for us was to set the temperature at 400, bake for 2 - 3 minutes, flip them and bake for another 2 - 3.  Keep the batter VERY thin so you don't end up with pancake-like centers.  Also, you have to be pretty quick when they come out and have fingers that can take some serious heat.  I just made my husband do it since he has those lovely calloused  hands just perfect for fortune cookie folding.  Put your paper inside, fold them in half, fold them again over the rim of a mug and finally place them in a muffin tin to keep their shape while they cool completely.


And there you have it!  What better way to show someone how incredibly grateful you are that they are in your life than a big plate of mostly cooked through (and some a bit burnt) fortune-to-have-you cookies.


Author: Rachel Skvaril
Sugar Artist


Labels: ,

Mar 11, 2013

Box Lunch


A BOXED LUNCH

The boys and I absolutely loved this book:


"CHRISTINA KATERINA & THE BOX" by Patricia Lee Gauch

We loved it so much that we decided to make not just a snack but an entire day out of playing in our own cardboard box.  After all, if Christina Katerina and her sometimes-friend Fats Watson could have that much fun with their box, we wanted to too!

We found the perfect box.  I added a few embellishments to mimic the one from the story.


We placed it on the porch and released the boys on it.  

In no time at all, it became a pirate ship on the high seas and a Sheriff's horse for his wild west chase.


It was the perfect place to relax, prop your feet up and read a book (you can guess which one was THE book of choice).


And when they got hungry, like all Sheriffs and Pirates do, we munched on this display:


A cardboard castle under the apple tree.  


This particular pirate decided that EVERYTHING would be more fun while in the box, so he chose to dine in that cardboard establishment.  You can tell that it must have been a fine dining restaurant since his manners and etiquette were so incredibly refined.


After lunch, the box quickly became a tunnel, and then a teepee:


And slowly but surely, a certain little toddler laid on top of the teepee and, just like in the case of Christina Katerina and Fats, we ended up with a lovely cardboard floor on the yard.  Unlike the story, this Mama could not wait for the box to slowly disintegrate on the yard.  After the Pirate and Sheriff were snug in their beds, the box somehow disappeared!  Wow!  What an incredibly amazing box!  

To make your own, Christina Katerina lunch themed scene, you will need the following:

  • Sliced cucumbers for the tree leaves
  • Cherry tomatoes for the apples
  • Pretzels for the tree trunk
  • a cheese sandwich.  Cut off edges to make a square and remove small area for "door".  We used edible marker to make the castle top but you could also just cut the top to resemble that of a castle.
  • For the grass, cut a long cucumber section, slice it in quarters and slice off the point so that the section lies flat.  Cut some "fringe" into the top of the piece. 
Just place all the picture "parts" in various bowls and your little ones can assemble all the pieces to make their own scene. 


This snack and all box adventures are proudly pirate approved.


Comment below for a change to win the Fireflies book of the month:  Christina Katerina


Author: Rachel Skvaril
Sugar Artist, Fondant Flinger

Labels: ,

Feb 11, 2013

Valentine's Kebabs

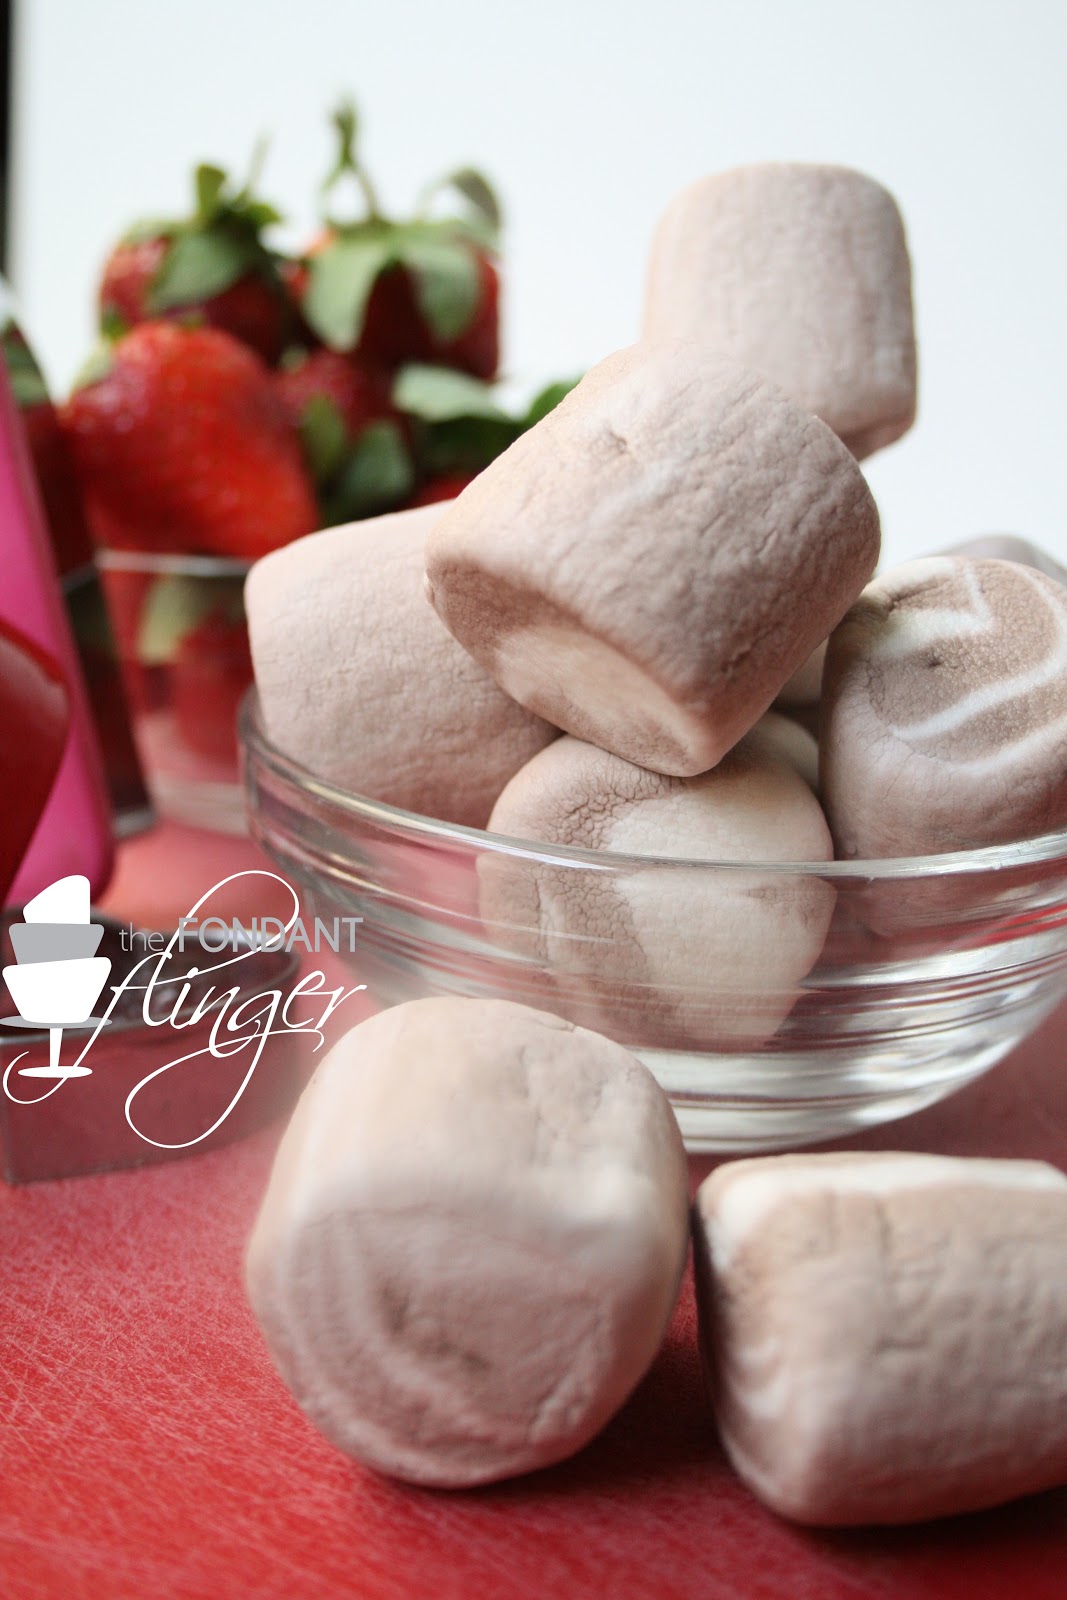
Strawberry Marshmallow Kebabs

Yep, you guessed it...more stick food!


The ingredients list for this recipe is VERY short.  

What you will need:

Strawberries


Marshmallows


Shish kebab sticks, scissors and a bit of water to keep those marshmallows from sticking to things.  If you are worried about the sharpness of the shish kebab sticks for those precious little chubby fingered children, just snip the tips of the sticks slightly so they aren't so incredibly pointy.  


Step One:  Rinse strawberries, remove stem, slightly hull each one and cut them in half.


Step 2:  Using scissors dampened with water, cut marshmallows in half.


Moisten the shish kebab stick with a bit of water, shake off the excess and, alternating the strawberries and marshmallows, slide your ingredients on the stick.  If you wanted to go a bit more decadent, you could half dip the strawberries and marshmallows in chocolate and use Valentine's themed sprinkles to decorate.


We tried to leave simple alone but then we thought of chocolate,
which can only improve food, right?

We took our marshmallows, cut them in half and dipped them
in warmed chocolate flavored coating.


The strawberries were done using the same method.  However, once we placed them on wax paper to set, we decided that they needed sprinkles.  We found some red sugar pearls, silver dragees and some white edible glitter and gave our treats some bling.  


 We skewered them all again once the chocolate had set up.


Now wouldn't you love to get one of these from your sweetheart?


 My sweet boy sure loved getting one from me!


This little one loved his as well, but didn't want to get his hands dirty. 


I can only imagine how perfect these valentine's treats would be for your child to give to their friends at their class parties.


Author: Rachel Skvaril
Fondant Flinger


To purchase cupcake toppers for your child's next class party, you can contact Rachel directly.   
Rachel (at) fondantflinger.com. 
 Don't miss a single Fireflies' Post!      Subscribe in a reader

Labels: ,