Christmas No-Bake Dessert Table
Christmas Dessert Table

This post is for all of you who keep telling me you don't know how to bake. So here it is! Your chance for you and your kids to put together an amazing Christmas display with absolutely ZERO baking skills necessary. If you can work a microwave, then you do indeed have the necessary skills to recreate this little dessert display.
Dessert tables are increasingly popular right now and they can seem a bit overwhelming to create and I can understand how you would just rather stop at the grocery store and pick up a pack of cookies. While this will entail slightly more work than prying open that plastic container, these food projects will provide you an your little ones lasting memories and something that they (and YOU) can be proud of.
So lets start!
MARSHMALLOW SNOWMAN ON A STICK
If you've ever been to a fair of any sort, then you KNOW that any snack on a stick just automatically tastes better. Kids are drawn to them and parents love them since they dramatically decrease the mess for those sweet, pudgy little hands. The sticks for this project are just regular shish kabob sticks that you find pretty much anywhere.
Here are the other ingredients you will need:

- Marshmallows (if you can find the jumbo marshmallows, those would be ideal for this project)
- White chocolate flavored candy coating (Ghiradelli's is sooo yummy)
- Orange jelly beans (or DOTS)
- Fruit roll-up
- A bit of cornstarch
- An edible marker (or mini chocolate chips)
- Scissors
- And those kebab sticks.
The first step is to cut your marshmallows in half. A tip I got from The Marshmallow Studio is to always dip your scissors in water and shake off the excess drips before you cut your marshmallows to prevent any sticking.

Take your kebab stick and dip that into water as well and slide on three marshmallows (the stick should go inside about half way through the top marshmallow).

Take your jelly bean (or DOT) and cut a small triangle piece for the snowman's nose. If it doesn't quite look pointy enough just shape it gently with your fingertips.

Melt the white candy according to the directions on the package. Generally, its 1 minute at full power, stir and continue melting at 30-second intervals at half power until smooth. Using the end of a kebab stick, add a dot of white chocolate for the nose to stick to. If you are using mini chocolate chips instead of an edible marker, you'll want to add white chocolate drops for his eyes, nose and mouth. If you have an edible marker, simply add dots for his eyes and mouth. Using a little more melted candy, add chocolate chips for the snowman's buttons.

Take a piece of fruit roll up and cut a strip approximately 3" long. I cut a tiny bit of fringe on each end of his scarf but that's optional. Wrap it around the neck between the two marshmallows. If you have any issues with the marshmallows keeping in place, secure them with a bit of candy coating between the marshmallows.

And there you go! Feel free to make as many as you want. We stopped at two; one for each little boy.

This one little guy was incredibly impressed with this project.

Make that two little guys completely enamored by skewered marshmallows.

WHITE CHOCOLATE COVERED OREO SNOWMAN FACE
Since we had melted the white candy coating and had extra, we decided to make this one little chocolate covered Oreo snowman. I didn't want to waste that Tablespoon of white chocolate so instead I used more wax paper, cookies, and a jelly bean. Somehow I'm still proud of the fact that I didn't waste that small amount of white melted candy!Here are your ingredients for this piece:

- White candy coating
- Oreo Cookies
- Orange jelly beans
- Mini chocolate chips
- Lollipop sticks
Cover the Oreo with the white candy coating. I'm sure that there's a tool for this but I found that having your 2-year old accidentally dropping it in the candy and me fishing it out with a fondu fork worked just brilliantly.


Next dip the end of a lollipop stick into the candy and gently insert the stick. Oh and there's that little bowl of orange jelly beans...right below the bag of lollipops. *sigh* Oh well! At least it can be in the photo below!

CANDY COVERED CHRISTMAS TREES
I absolutely love these trees. I first saw them on a blog from Half Baked last year and couldn't wait to try my own out.
Ingredients list:
- Green candy coating
- Sugar cones
- Christmas colored sprinkles, sugar pearls, silver dragees, whatever you want!

Next, coat each cone with the green candy and set upright on wax paper.

Again, to avoid any form of disputes between the boys, we did two trees.

Decorate! Had the boys not both been in time out at the time this project was being completed, they would have created some masterpieces to be sure. Unfortunately, this Momma likes to be consistent with her discipline so they both watched me decorate the trees until their behavior improved. We'll have to try this again later with them and share a follow up photo of their artwork.

CHRISTMAS CANDY POPCORN
Yes, you guessed it...I had leftover green candy coating and not wanting to waste it, I decided on this element for the dessert table. I use this idea quite a bit for dessert tables since its a great filler and can be done in any color.
Pop a batch of popcorn. I used my air popper but I'm sure that the microwave kind would work just as well. Spread the popcorn out in a single layer on wax paper.
Using a spatula, transfer your candy coating into a Ziplock bag and trim a small hole in the corner (Voila! Your very own handmade piping bag!).

Drizzle candy coating all over the popcorn. Stir to evenly coat.

Spread it out again and add a second drizzling of candy. Stir well but try not to smoosh or break the popcorn pieces.
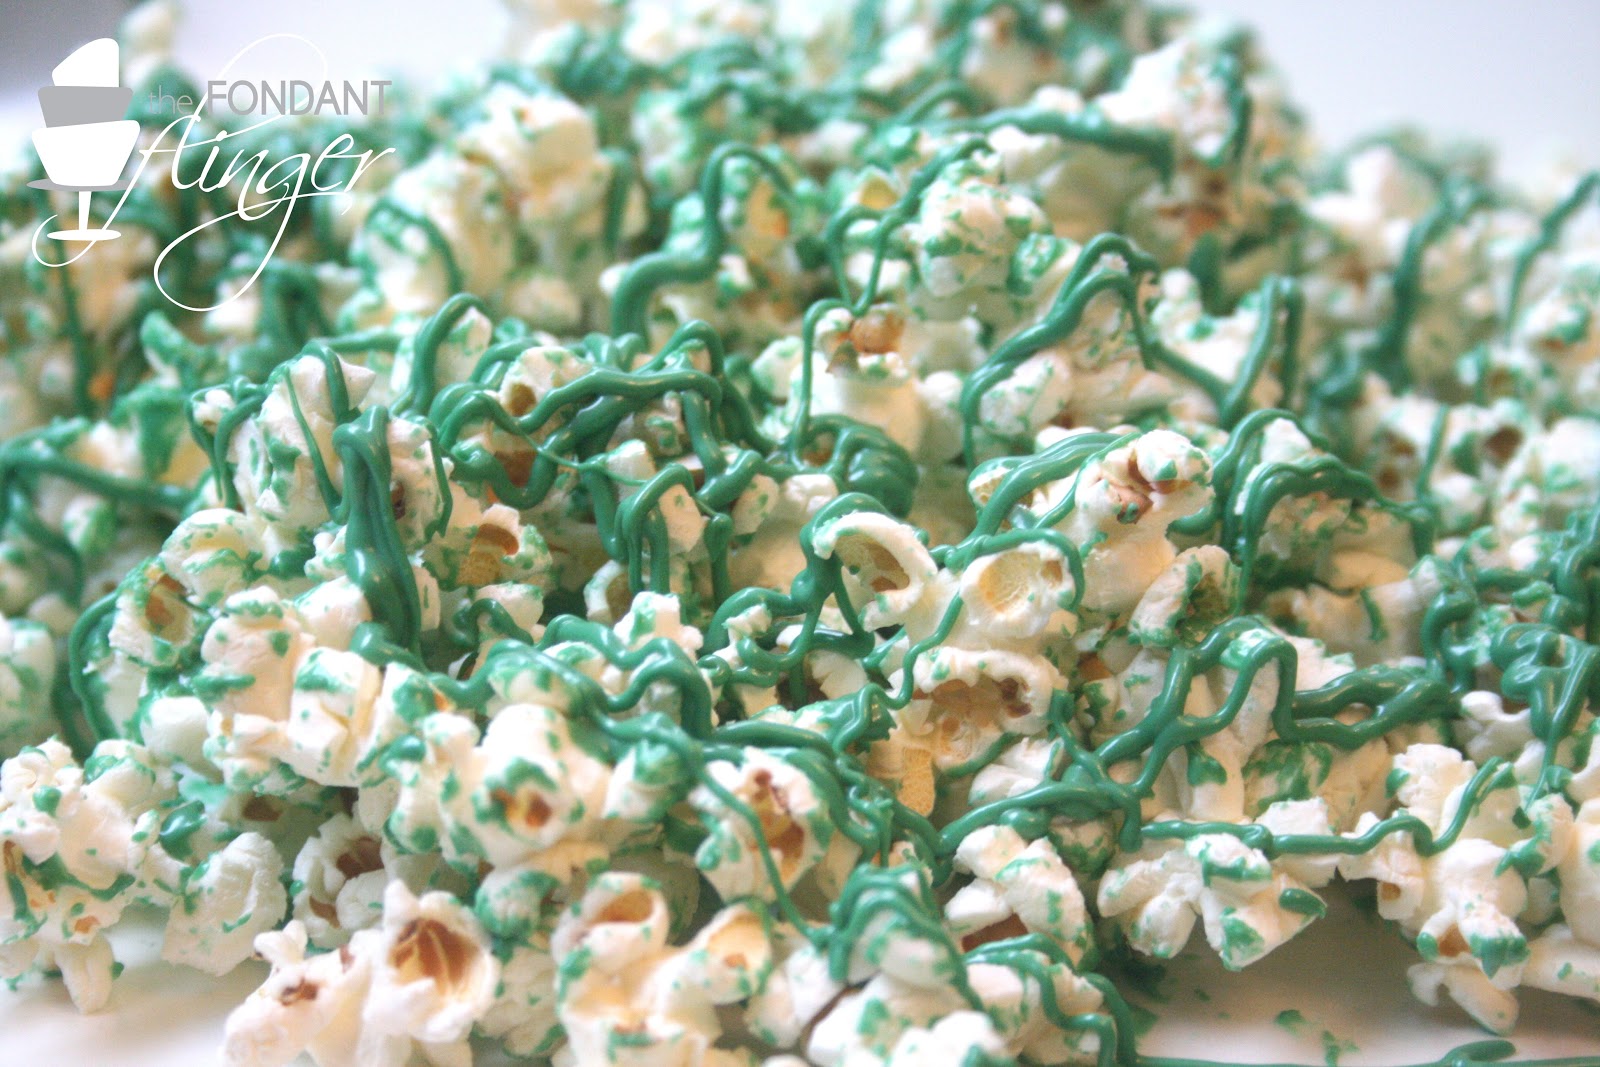
Spread it out again into a single layer do another of drizzling of candy coating but this time don't stir. Add sprinkles to your heart's content.

Let dry.
CANDY COVERED MARSHMALLOW CHRISTMAS TREE
For whatever reason, I STILL had green candy coating! So back to the pantry again to hunt down some other dessert table materials. I found these guys.
Dip the ends of the marshmallows into the green candy coating and let them dry (green side up) on some parchment. As they are setting up, sprinkle some sugar pearls for "ornaments". Place them into a tree shape and add a little pretzel stump.

And there you have it! Your very own Christmas dessert table!


These are perfect for your "C is for Christmas" after show party!
I just can't wait to see your photos of these food projects! Please post them to the Fireflies Facebook page so we can all enjoy them.
Praying that you and your family have an incredibly Merry Christmas while celebrating the birth of our Savior, Jesus Christ!
Labels: Recipes, Theme: Christmas
posted by Skvaril's @ 4:13 PM
1 Comments
![]()

1 Comments:
Can't wait to try these ideas with our Grandchildren! Thanks so much Rachel for another great post!
Post a Comment
We sincerely thank you for taking the time to respond. You are an encouragement to the Fireflies Team.
Subscribe to Post Comments [Atom]
<< Home